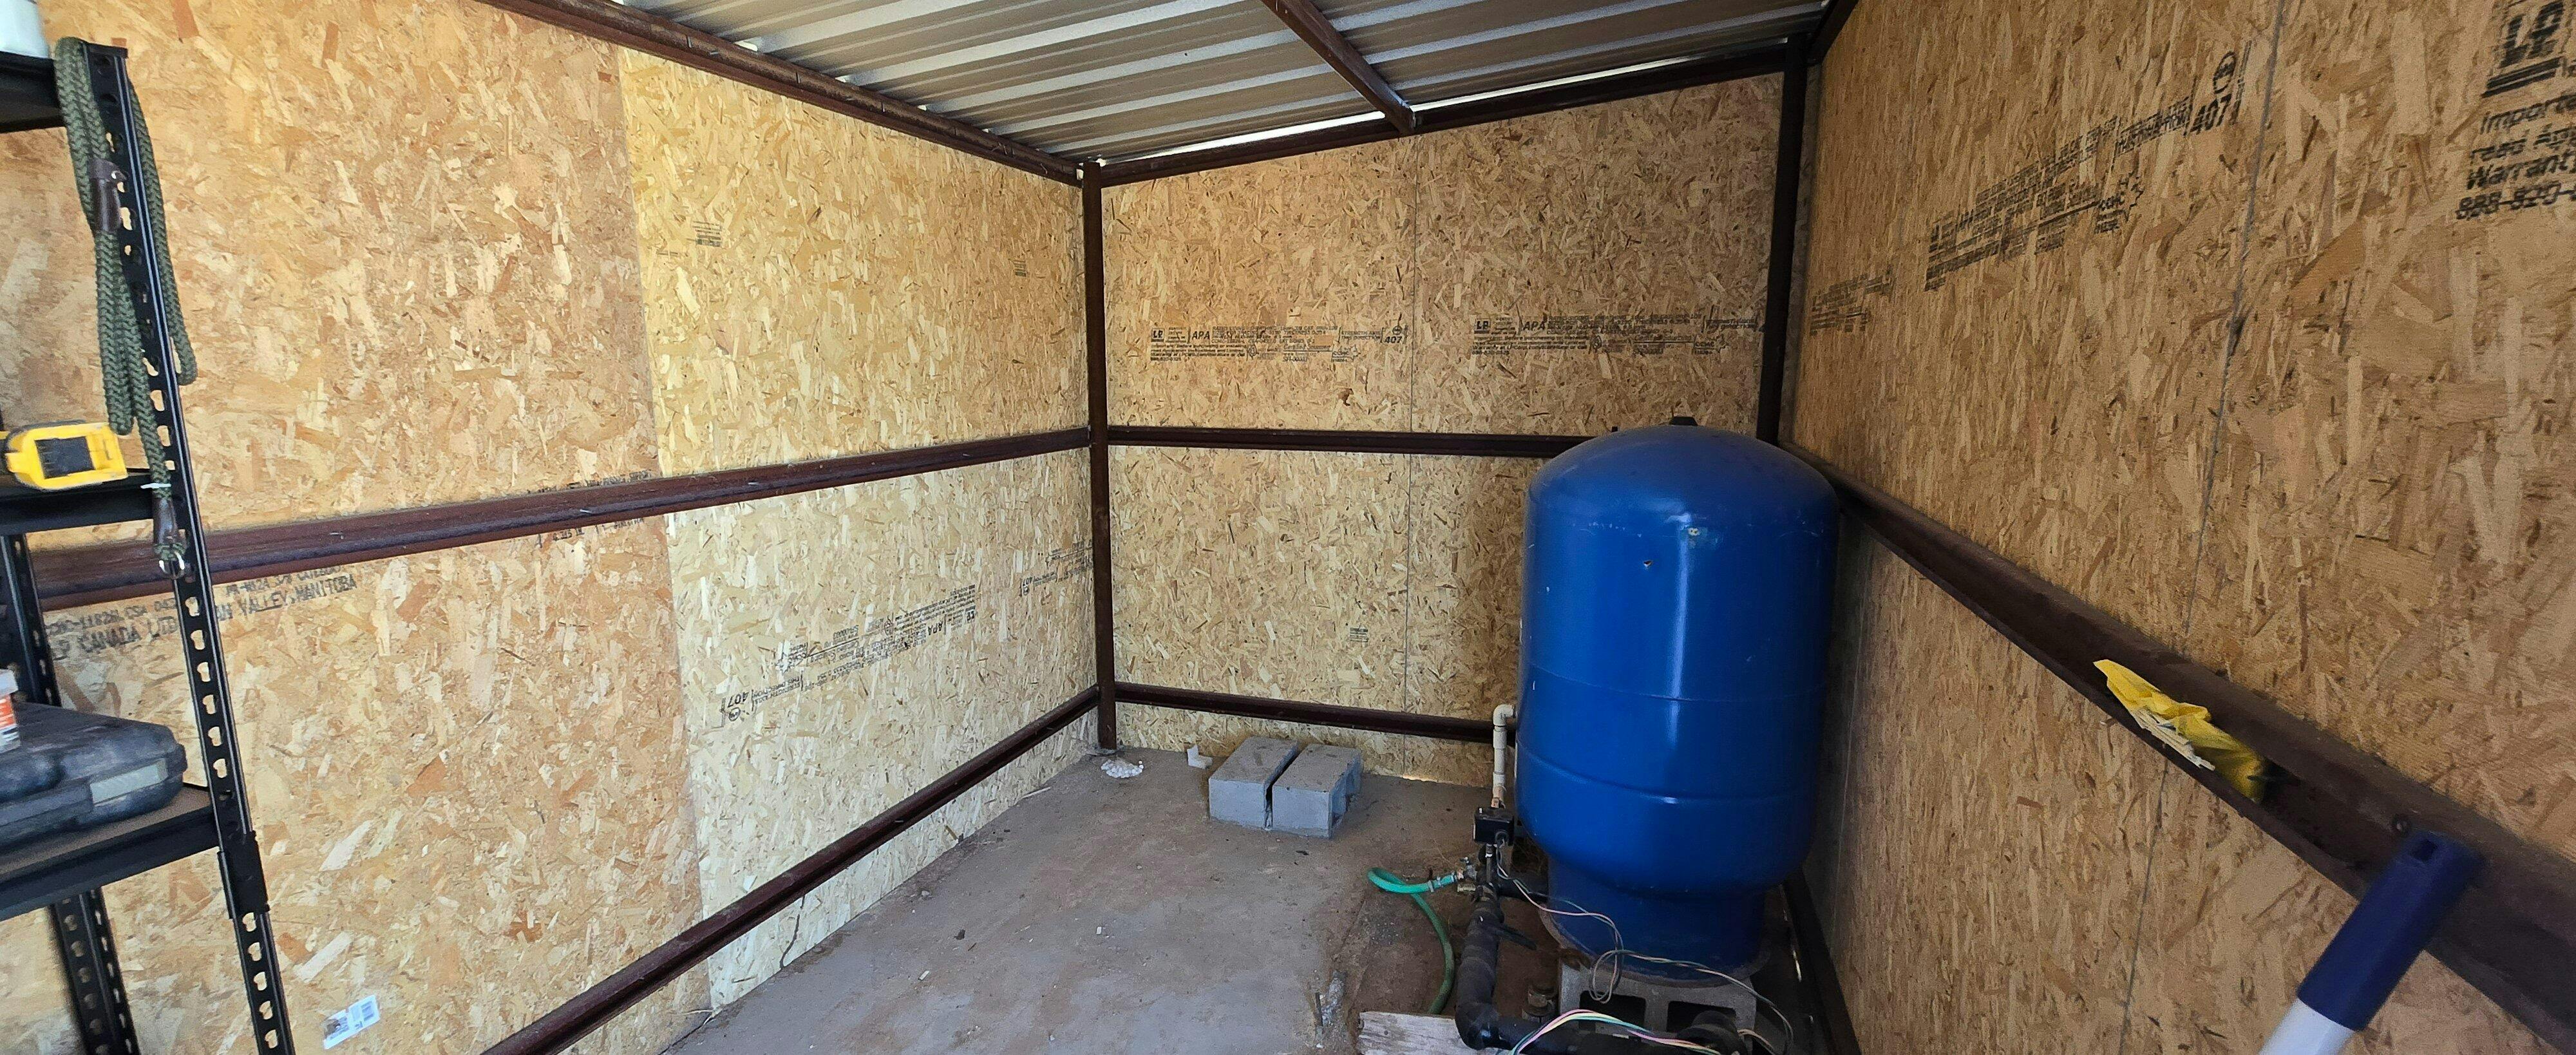
1. PREPARE THE SURFACE LIKE A PRO
For the best results, make sure the application area is:
* Clean (free of dust, dirt, oil, or loose particles)
* Dry or lightly misted (for temperatures above 32°F / 0°C, a light water mist improves adhesion)
A properly prepared surface ensures stronger bonding and faster curing.
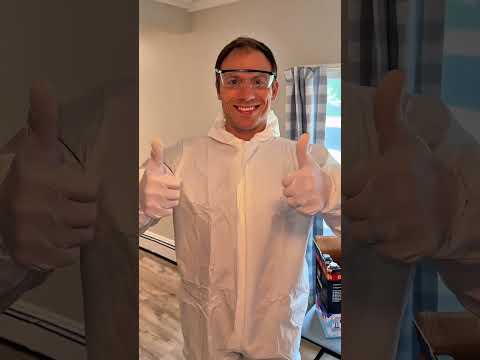
2. GEAR UP FOR SAFETY
Spray foam expands quickly—proper safety is essential.
Always wear:
* Gloves
* Safety goggles
* A protective mask
This keeps your hands, eyes, and lungs fully protected during application.
3. SELECT THE RIGHT NOZZLE
Your kit includes multiple nozzles designed for different surfaces:
* Nozzle 1 – Vertical Surfaces: Walls, studs, gaps, framing
* Nozzle 2 – Ceilings & Overhead Areas: Prevents dripping and improves control
Press firmly until the nozzle clicks securely into place.
4. SHAKE, LOCK & LOAD
Before spraying:
* Bring the can to room temperature (68°F / 20°C) for 24 hours for stable pressure and maximum yield.
* Shake vigorously for 20–30 seconds before each use.
* If the can feels too cold or warm, rest it in warm/cold water until it reaches room temperature.
Attach the can to the applicator gun by aligning, pressing, and twisting until fully locked.
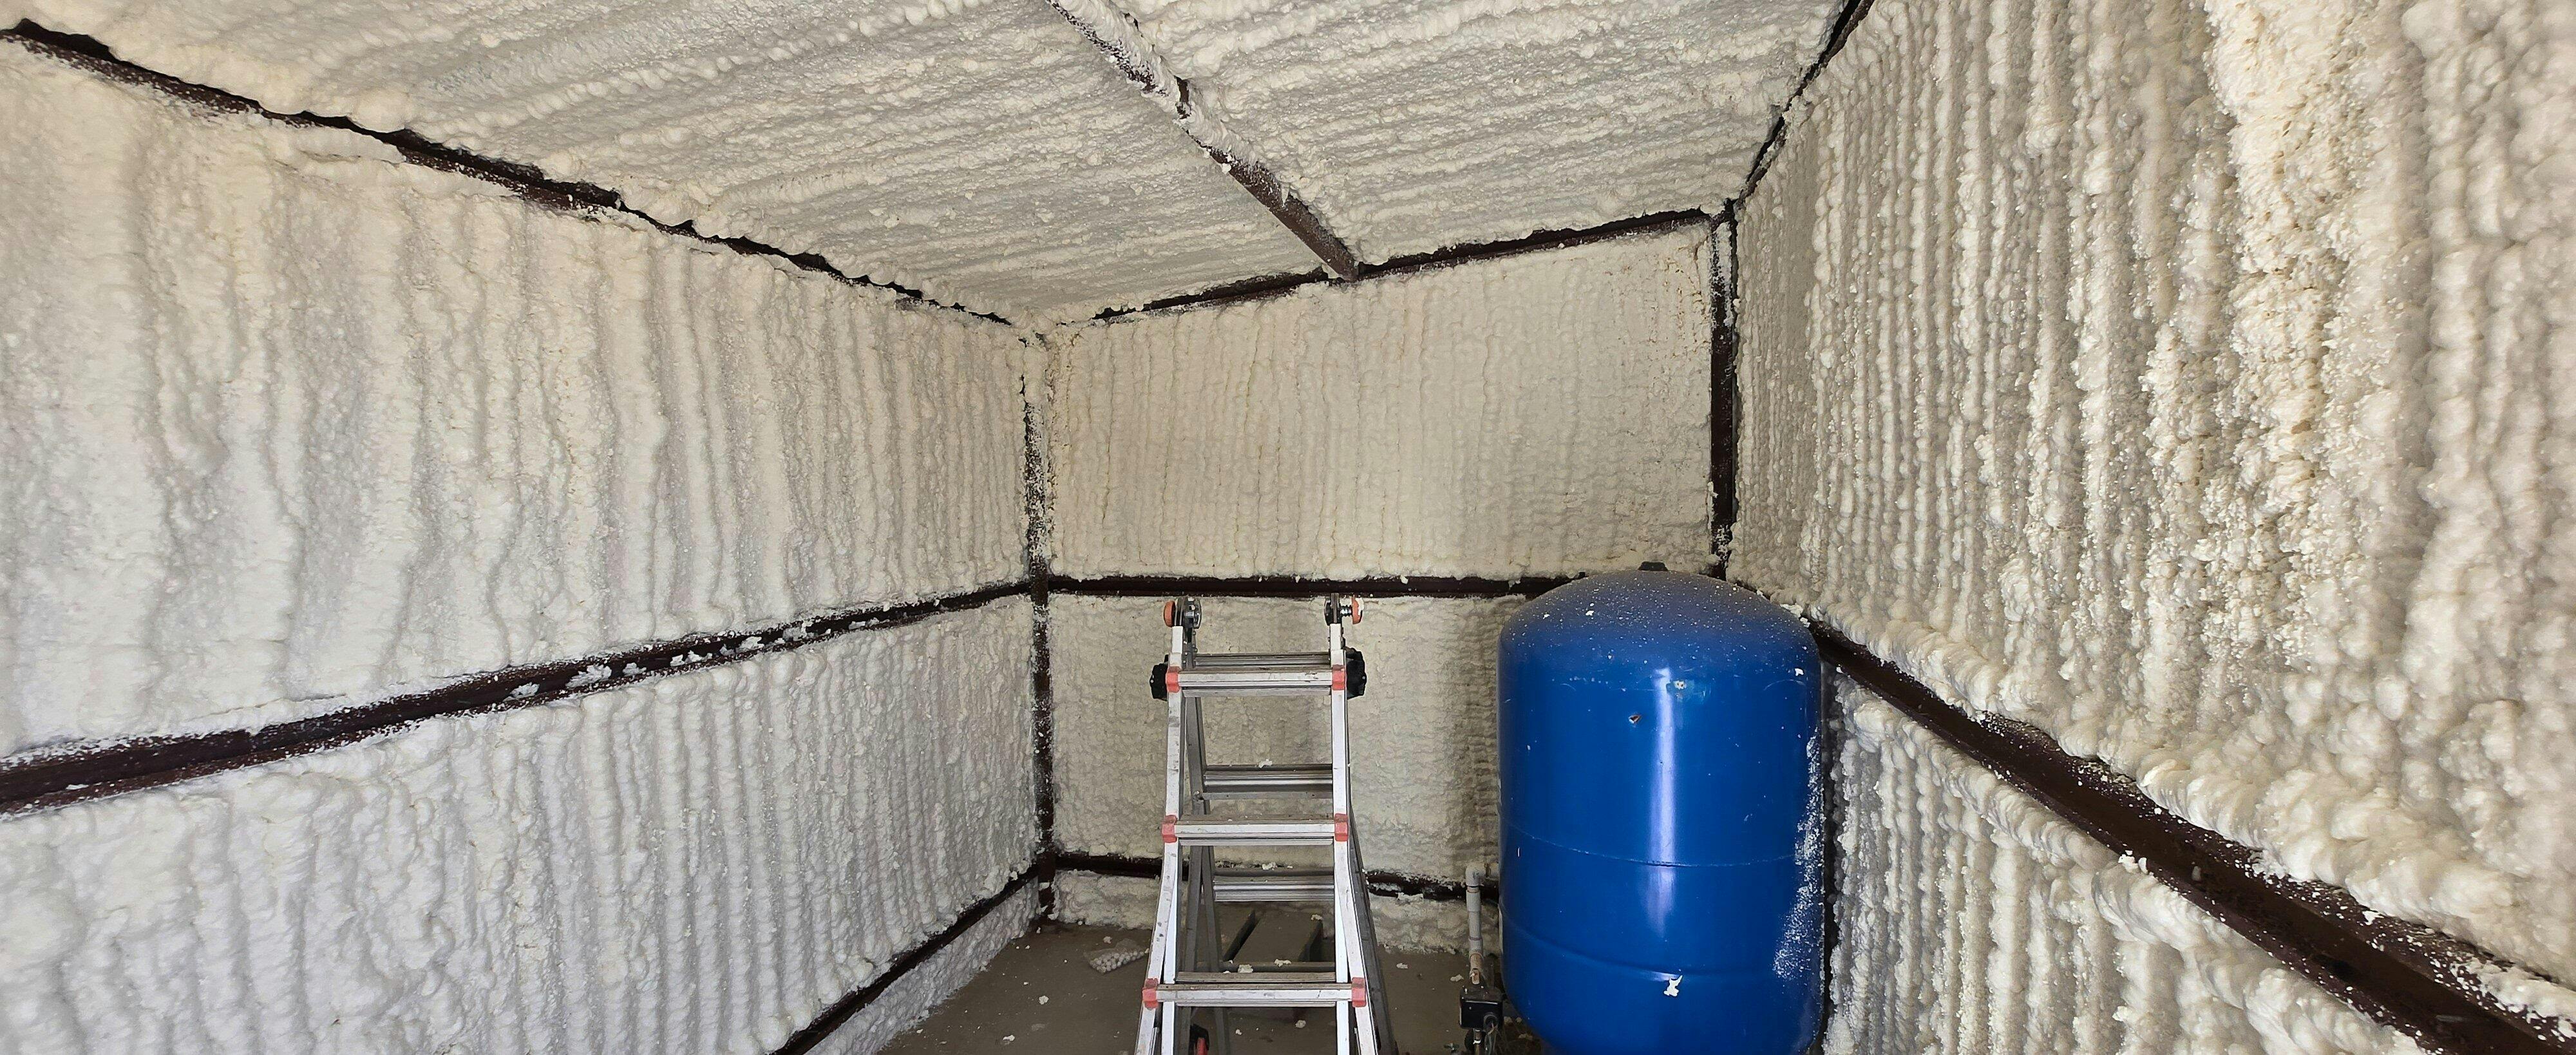
5. APPLY WITH CONTROL (FOR BEST RESULTS)
To achieve an even, consistent foam layer:
* Hold the gun 12–18 inches from the application surface
* For ceilings: Use Nozzle 2 and spray at a 45° angle
* Apply in thin layers—let each layer expand before adding the next
* Shake the can briefly between passes for a smooth, dense foam output
Remember: The foam expands up to 1.5 inches within 5 minutes, so avoid overfilling in one pass.
6. CLEAN LIKE A PROFESSIONAL
Right after finishing:
* Wipe the gun and nozzle immediately
* Use a foam cleaner for any fresh, uncured foam
* Once cured, foam can only be removed mechanically
* Always protect cured foam from UV exposure with paint, plaster, siding, or another covering
This extends the lifespan and appearance of your insulation.
7. PRO TIPS FOR PERFECT APPLICATION
* Every can includes replacement nozzles for versatility
* Always test spray on a scrap surface before beginning
* If coverage or expansion looks below normal, contact support — minor adjustments often solve it quickly
You’re Ready to Insulate Like a Pro
Follow these steps and achieve a seamless, airtight, and long-lasting insulation layer anywhere you need it—walls, ceilings, garages, sheds, basements, metal buildings, or DIY renovation projects.